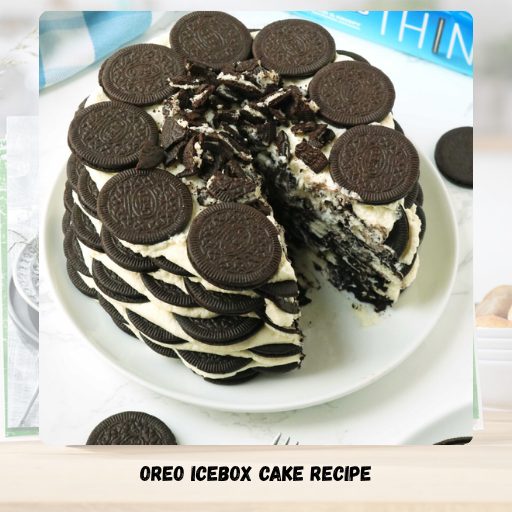
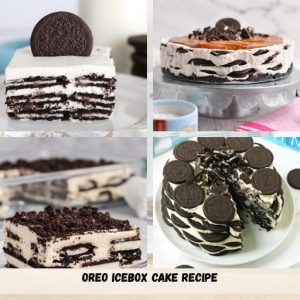
Oreo Icebox Cake Recipe
This Oreo Icebox Cake offers a delightful no-bake dessert option, blending the beloved Oreo cookies with luscious whipped cream. Ideal for warm summer days when you desire a cool, sweet indulgence minus the heat of baking. The harmonious layers of Oreo cookies and airy whipped cream unite to form a rich, crowd-pleasing treat that appeals to both young and old. The beauty of this recipe lies in its simplicity, calling for just a handful of pantry staples and no need for the oven.
Whether you’re planning a casual outdoor gathering or simply craving a quick dessert fix, this Oreo Icebox Cake Recipefits the bill perfectly. Simply assemble, refrigerate, and relish the delightful fusion of chocolaty cookies and velvety filling. Prepare to impress your guests with this effortlessly elegant dessert that will undoubtedly have everyone asking for seconds.
Ingredients
- 1 package of Oreo cookies
- 2 cups of heavy cream
- 1 teaspoon of vanilla extract
- 1/4 cup of powdered sugar
- 2 cups of whipped cream
- 1 cup of crushed Oreos
- Plastic wrap

equipment
- Mixing bowl
- Electric mixer
- 9×13-inch baking dish
- Plastic wrap
Instructions
- In a mixing bowl, whip heavy cream with vanilla extract and powdered sugar until stiff peaks form, creating a fluffy whipped cream mixture.
- Prepare the Oreo cookies by crushing them into small pieces either by hand or using a food processor for easy layering.
- Start by layering a thin base of the whipped cream at the bottom of a 9×13-inch baking dish to create a smooth foundation for the cake.
- Sprinkle the crushed Oreos evenly over the whipped cream layer to add texture and enhance the flavor profile of the dessert.
- Continue layering by alternating between whipped cream and crushed Oreos until you reach the top of the dish, finishing with a final whipped cream layer and a sprinkle of crushed Oreos for decoration.
- Cover the baking dish with plastic wrap and refrigerate the Oreo Icebox Cake for at least 4 hours or overnight to allow the flavors to meld together and the cake to set properly before serving.
tips & tricks
- For a twist, try using flavored Oreo cookies like mint or peanut butter.
- You can add a layer of chocolate ganache between the whipped cream and Oreo layers for extra indulgence.
- Ensure the whipped cream is well chilled before using it to achieve the best texture.
- To speed up the chilling process, place the cake in the freezer for about 2 hours before transferring it to the refrigerator.
fAQs about Oreo Icebox Cake Recipe
Q: Can I make this recipe ahead of time?
A: Yes, this Oreo icebox cake actually tastes better when made a day in advance as it allows the flavors to develop and the cake to set properly.
Q: Can I use store-bought whipped cream instead of making my own?
A: While homemade whipped cream is recommended for the best flavor and texture, you can substitute with store-bought whipped topping if needed.
Q: How long does the Oreo icebox cake last in the refrigerator?
A: The cake can be stored in the refrigerator for up to 3 days. Be sure to cover it tightly with plastic wrap to prevent it from absorbing any odors.
conclusion
The Oreo icebox cake offers a delightful blend of creamy filling and crunchy cookies, making it a hit for any gathering. Customize the cake by trying out different Oreo flavors or incorporating layers of fresh fruit or nuts to suit your preferences or event theme. Serving the cake chilled enhances its cool and refreshing taste, making it a perfect dessert for warm weather or a satisfying conclusion to a meal.
For optimal taste and texture, store the cake covered in the refrigerator, allowing you to savor its deliciousness over multiple servings. Proper chilling is essential to ensure that the layers set correctly, so be sure to follow the recommended storage guidelines to enjoy a consistently delightful and flavorful Oreo icebox cake every time you indulge.
Oreo Icebox Cake Recipe
Equipment
- Mixing bowl
- Electric mixer
- 9×13-inch baking dish
- Plastic wrap
Ingredients
- Ingredients
- 1 package of Oreo cookies
- 2 cups of heavy cream
- 1 teaspoon of vanilla extract
- 1/4 cup of powdered sugar
- 2 cups of whipped cream
- 1 cup of crushed Oreos
- Plastic wrap
Instructions
- In a mixing bowl, whip heavy cream with vanilla extract and powdered sugar until stiff peaks form, creating a fluffy whipped cream mixture.
- Prepare the Oreo cookies by crushing them into small pieces either by hand or using a food processor for easy layering.
- Start by layering a thin base of the whipped cream at the bottom of a 9×13-inch baking dish to create a smooth foundation for the cake.
- Sprinkle the crushed Oreos evenly over the whipped cream layer to add texture and enhance the flavor profile of the dessert.
- Continue layering by alternating between whipped cream and crushed Oreos until you reach the top of the dish, finishing with a final whipped cream layer and a sprinkle of crushed Oreos for decoration.
- Cover the baking dish with plastic wrap and refrigerate the Oreo Icebox Cake for at least 4 hours or overnight to allow the flavors to meld together and the cake to set properly before serving.
Video
Notes
You can add a layer of chocolate ganache between the whipped cream and Oreo layers for extra indulgence.
Ensure the whipped cream is well chilled before using it to achieve the best texture.
To speed up the chilling process, place the cake in the freezer for about 2 hours before transferring it to the refrigerator.