Cheesecake Recipe (New York Style)
The aroma of freshly baked cheesecake, with its rich, creamy center and golden, crumbly crust, always transports me to a place of culinary delight. As a seasoned baker, I’ve experimented with countless variations, but I recently perfected a recipe that strikes the ideal balance between indulgence and simplicity. This particular cheesecake doesn’t just satisfy a sweet tooth; it’s a testament to the beauty of baking with precision. Discover the Best Cheesecake Recipe for a creamy, smooth, and rich dessert that’s sure to impress. Perfect for special occasions or a decadent treat!
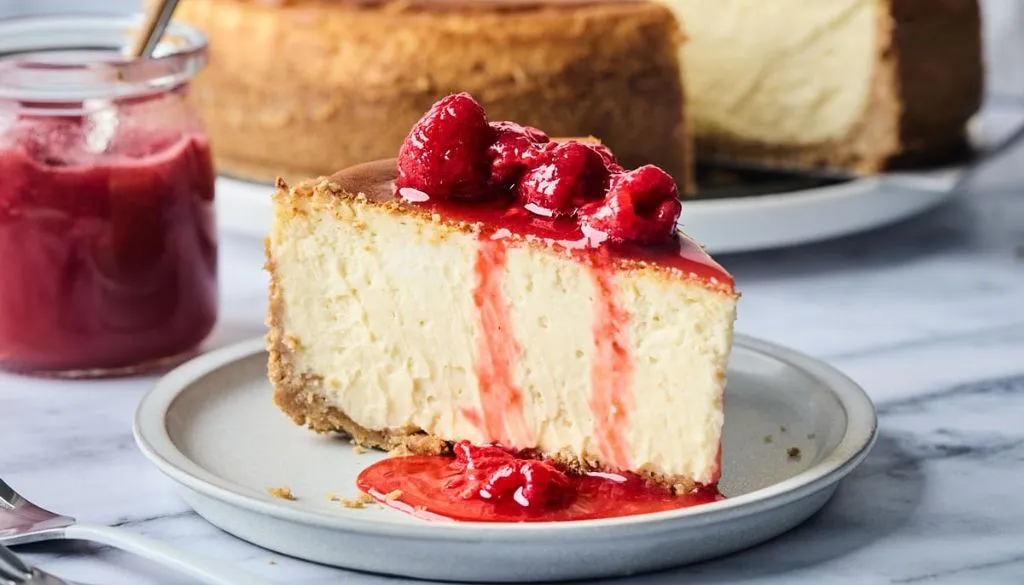
However, the real twist lies in a secret ingredient that elevates the classic flavor profile to new heights. Curiosity piqued? Let’s explore what makes this cheesecake stand out in the crowded world of desserts.
The Best Cheesecake Recipe
Discovering the best cheesecake recipe feels like uncovering a culinary treasure, especially one that doesn’t require a water bath yet promises a crack-less, sumptuous dessert. The secret lies in the harmony of cream cheese, eggs, sugar, sour cream, and vanilla, all blended to perfection. The foundation of this delightful creation starts with a Graham Cracker crust, its crumbly texture a perfect contrast to the creamy filling.
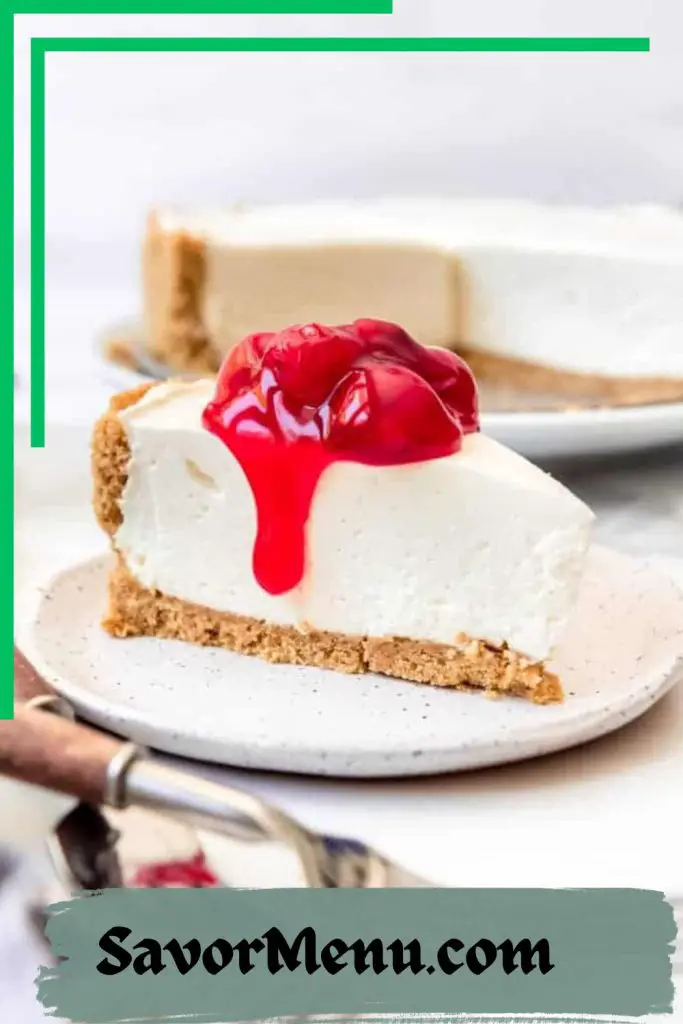
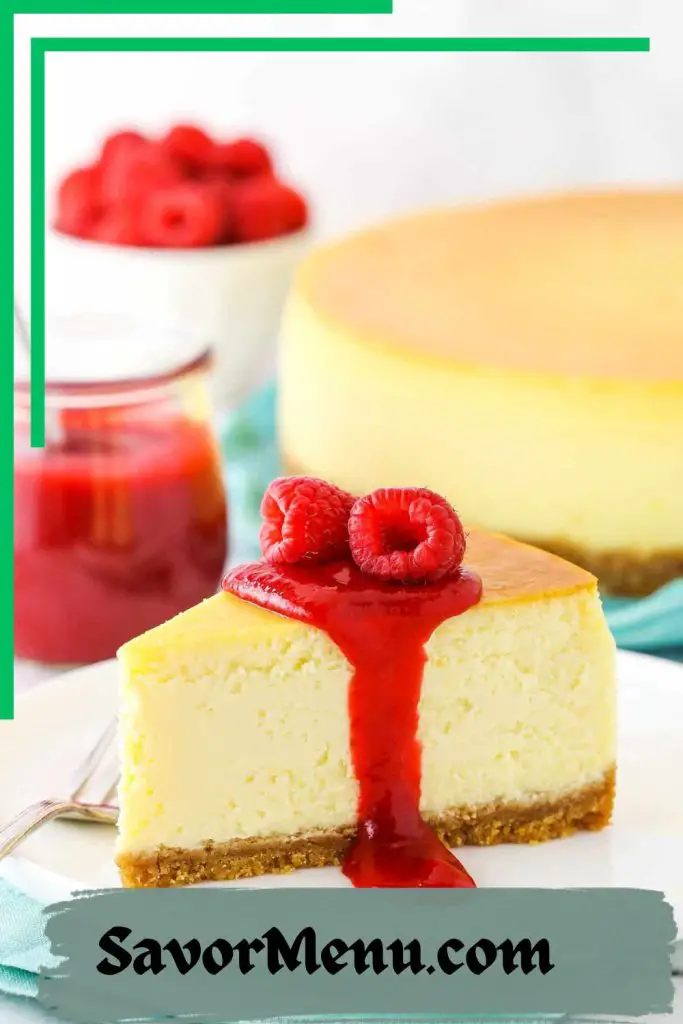
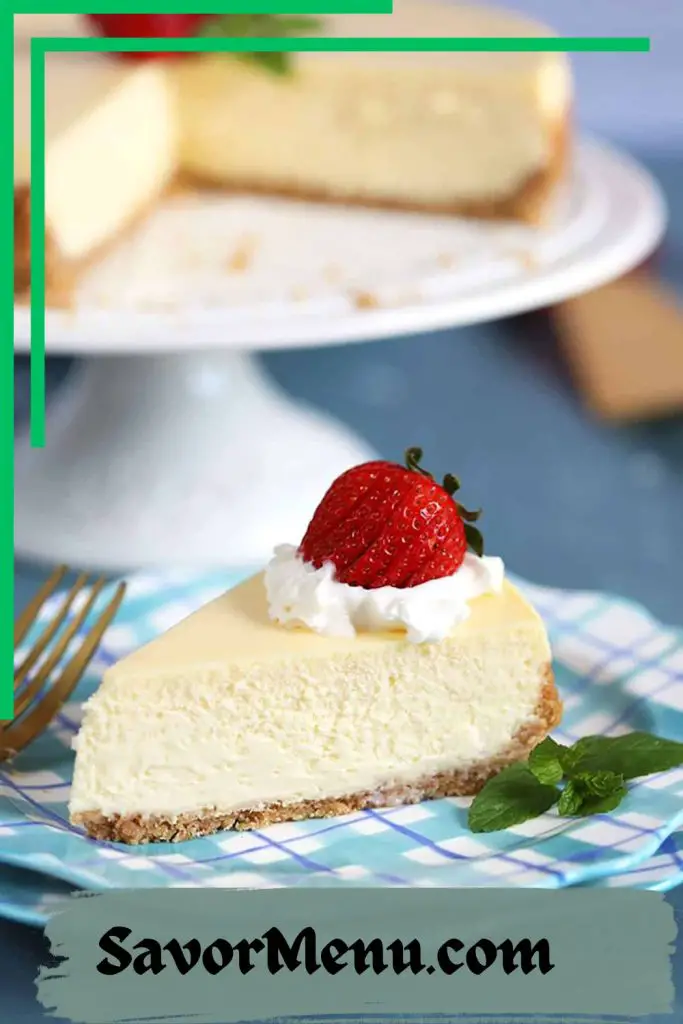
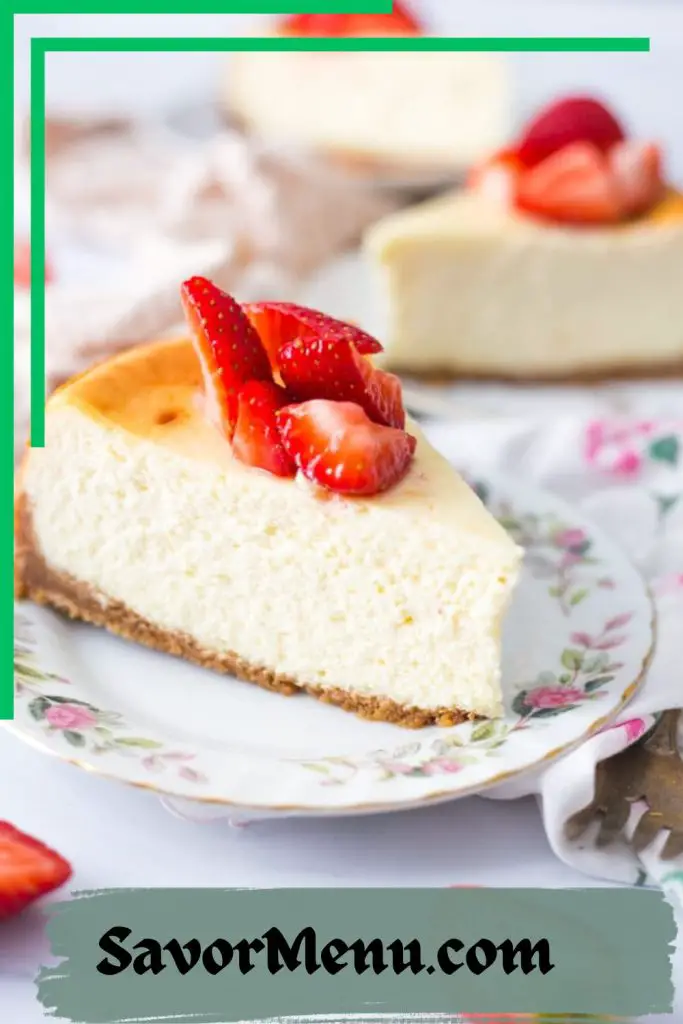
Before embarking on this baking journey, I always preheat my oven to 325°F, ensuring it’s ready to welcome the cheesecake to its warm embrace. Room temperature ingredients are crucial; they blend more smoothly, eliminating the risk of lumps. I mix the cream cheese and sugar first, then gently fold in the eggs, sour cream, and vanilla, careful to keep the air in and the batter smooth.
Once poured over the crust and smoothed out, the oven does the rest, magically transforming it into a crack-less wonder. After baking, cooling is just as important. I follow the storage and freezing tips religiously, wrapping my cheesecake in plastic wrap and foil before it finds its way to the fridge or freezer, ensuring it’s as good as new when it’s time to indulge.
Must-Know Tips for Baking the Perfect Cheesecake
After mastering the basics of the beloved cheesecake recipe, let’s focus on refining our technique to bake the perfect cheesecake, even without resorting to a water bath. The secret lies in the preparation and understanding of how each element interacts within the oven’s warm embrace.
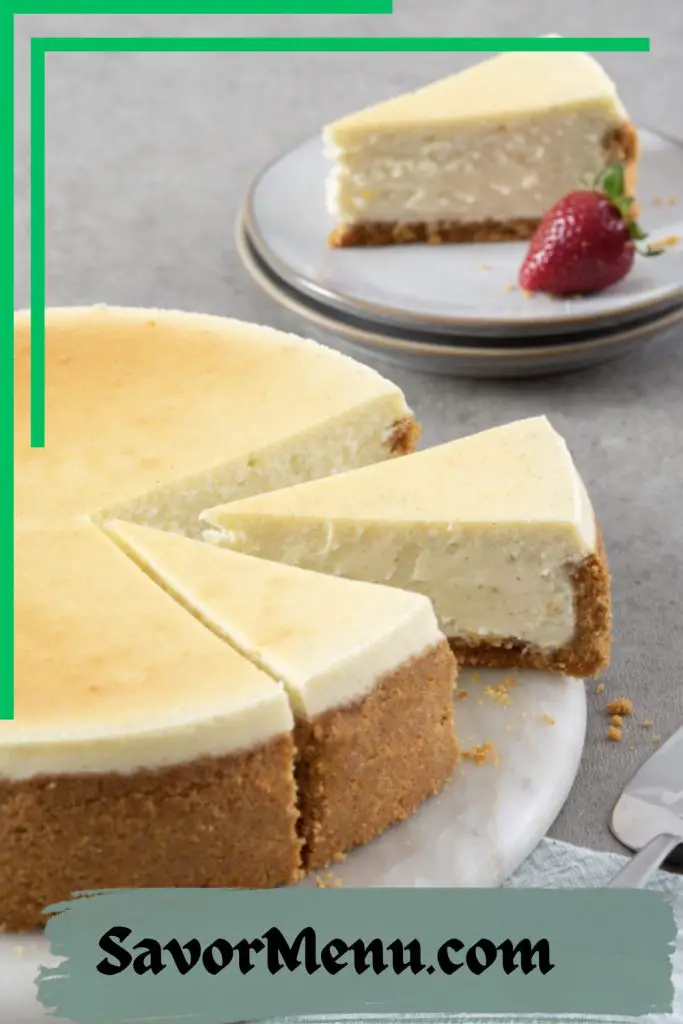
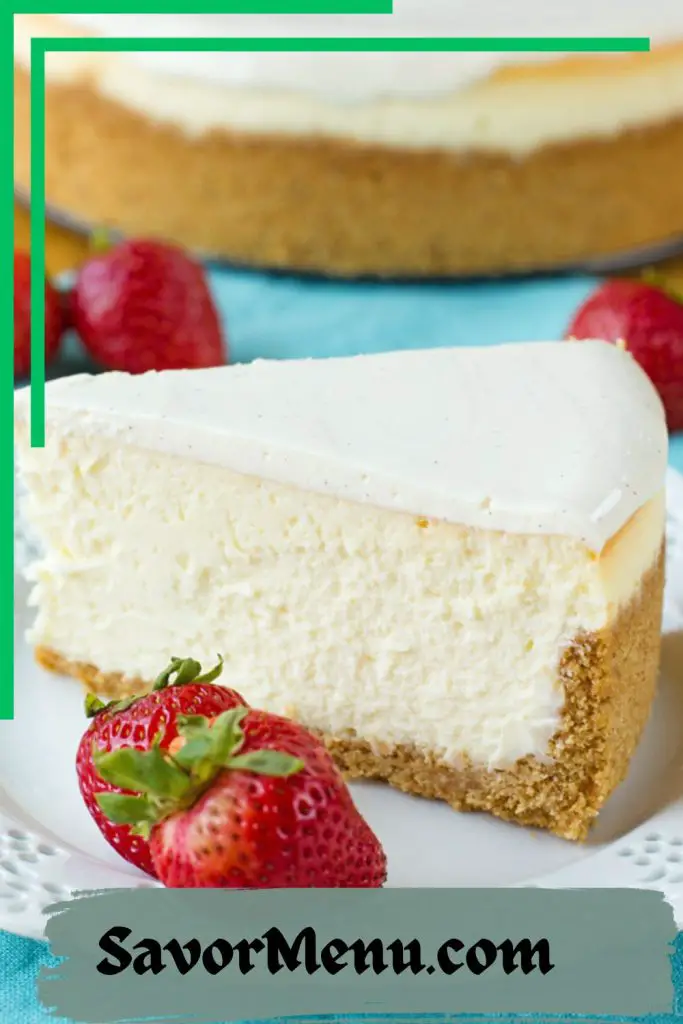
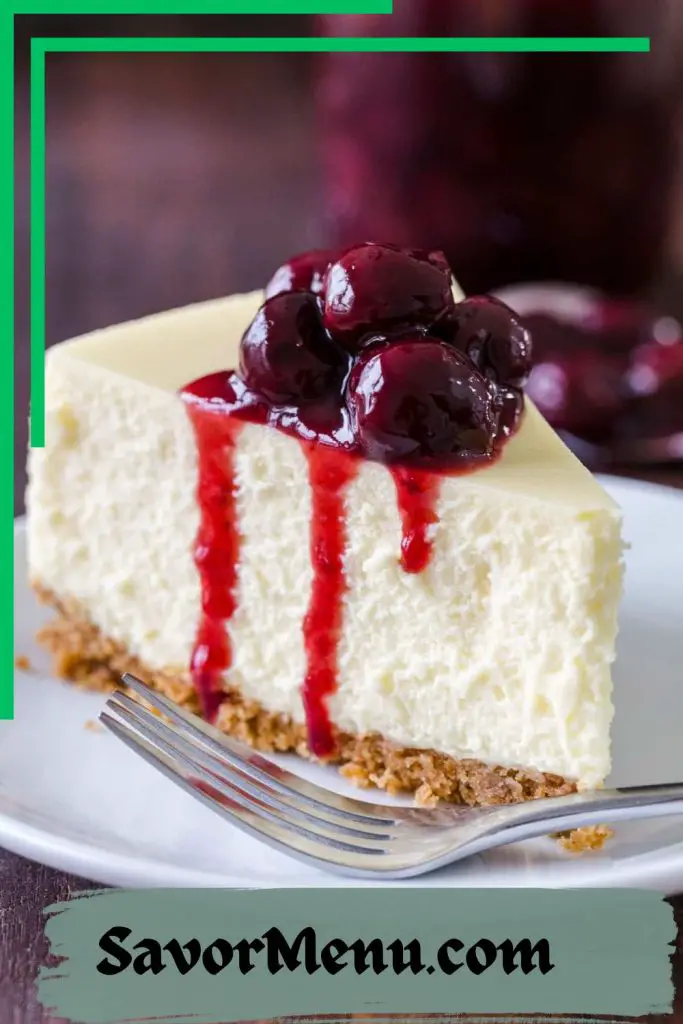
Firstly, ensuring all ingredients, especially the cream, are at room temperature before mixing is crucial. This facilitates a smoother blend, reducing the likelihood of overmixing—a common culprit behind cracked tops. Speaking of mixing, always keep it on low speed. This prevents incorporating too much air, which can cause the cheesecake to rise and fall unevenly, leading to potential cracks.
Now, let’s talk about the oven. It’s not just a box that heats; it’s where the magic happens. Resist the urge to open the door and peek; maintaining a consistent temperature is key. Once baked, the real patience test begins. Loosening the cheesecake from the sides of the pan helps prevent the crust from sticking and cracking the filling as it cools. And remember, a slow cool at room temperature before chilling ensures that your cheesecake sets perfectly—dense, creamy, and utterly crack-free, all without the hassle of a water bath.
How to Make Classic Cheesecake
I’ll start by crafting the graham cracker crust, blending crushed crackers with butter to form a thick, inviting base. Next, I whip up the cheesecake batter, ensuring it’s creamy and lump-free by carefully mixing the cream cheese, sugar, and other key ingredients. Finally, I bake it at 350°F, patiently waiting for that perfectly smooth and rich classic cheesecake to come to life.
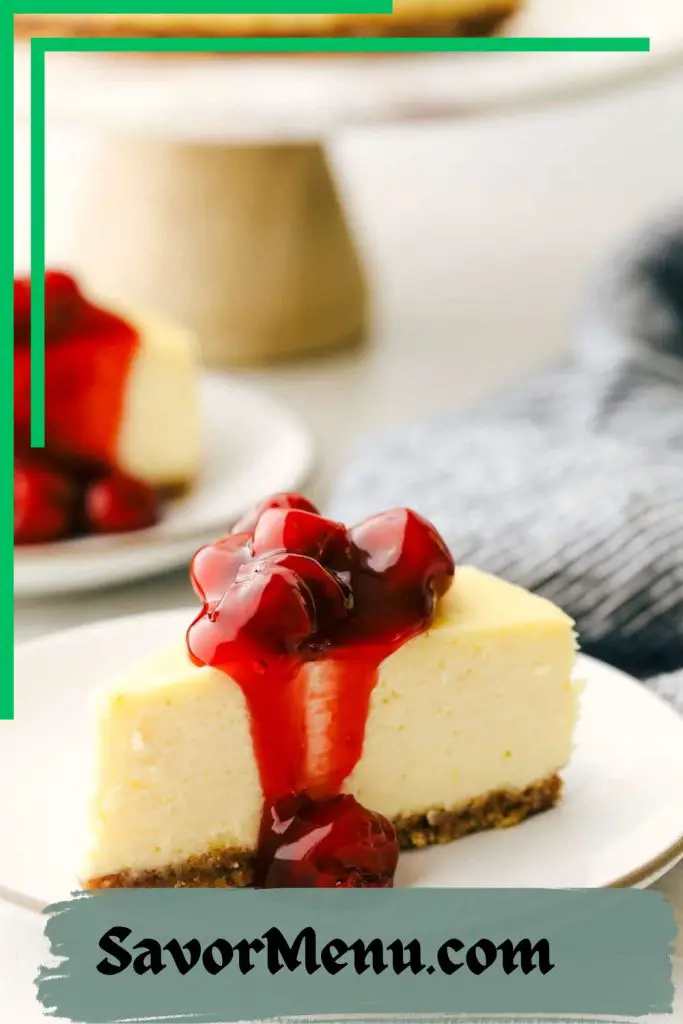
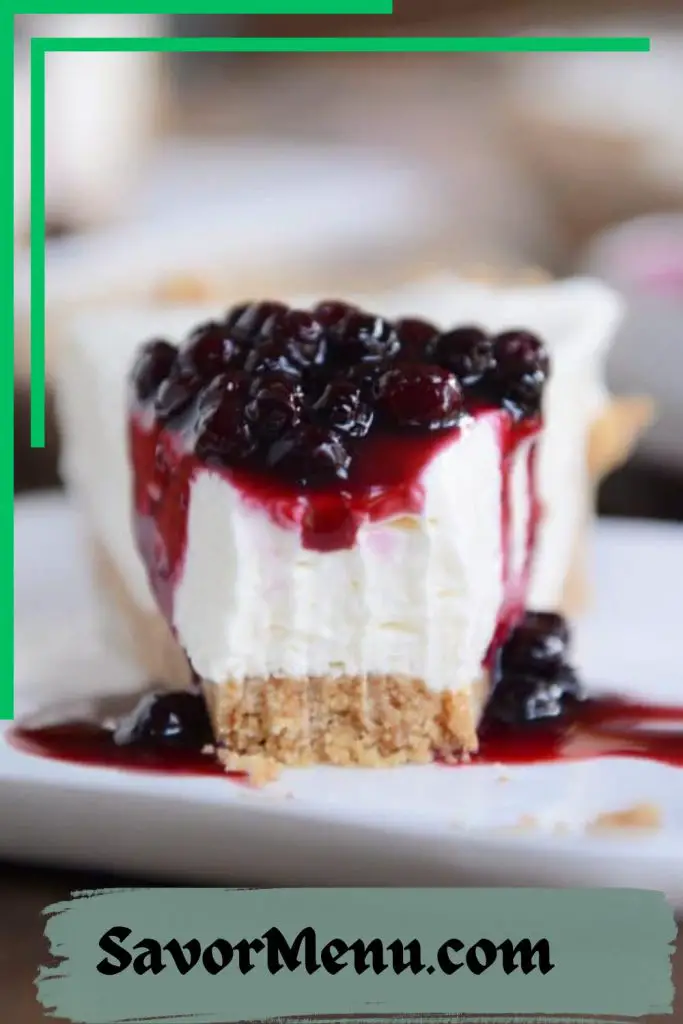
Use High-Quality, Full-Fat Ingredients
For the richest flavor and creamiest texture, select premium full-fat cream cheese, sour cream, and other dairy products. The quality of ingredients significantly affects the final taste of your cheesecake.
Make the Graham Cracker Crust
To craft the perfect Graham Cracker Crust for our classic cheesecake,
This process isn’t just about forming a base; it’s about crafting a sweet, crunchy counterpoint that elevates the entire cheesecake recipe, turning it into a symphony of textures and flavors.
Make the Cheesecake Batter
Creating the cheesecake batter is a pivotal step in our culinary journey, requiring a blend of cream cheese, sugar, and a few other key ingredients to achieve that iconic, creamy texture.
It’s a simple yet precise art, ensuring our cheesecake’s rich taste and velvety texture.
Bake in a Water Bath at Low Temperature
Having carefully prepared our creamy, lump-free batter, it’s now time to focus on the baking process, essential for achieving that perfectly smooth and indulgent classic cheesecake.
After baking, I know it’s crucial to let it cool to room temperature before the chilling process begins, laying the foundation for those optional toppings to shine.
Cool the Cheesecake Overnight
Once the oven’s warmth has enveloped the cheesecake, transforming its texture into a smooth delight, I carefully initiate the cooling process by cracking the oven door slightly, allowing a gentle escape of heat.
This pivotal moment, following the meticulous steps of beating the cream cheese until smooth and creamy, mixing in the pure vanilla extract, and pouring the mixture into a springform pan over a buttery graham cracker crust, marks the transition from baking to cooling.
Wrapped in aluminum foil and nestled in a large roasting pan, the cheesecake’s journey from oven temperature to the cool embrace of the refrigerator is critical. Ensuring it rests undisturbed, I allow the flavors to meld and the texture to set, achieving the ultimate cheesecake experience.
Decorate with Whipped Cream
Once chilled and set, decorate your cheesecake with whipped cream. You can pipe the whipped cream around the edges or cover the top for a more decadent finish.
Notes
After meticulously guiding the cheesecake through its baking and cooling phases, let’s explore the essential tips and ingredients that elevate a classic cheesecake from good to unforgettable.
How to Make a Graham Cracker Crust
To create the foundation for our cheesecake, we’ll start by crafting a classic graham cracker crust, a process that involves mixing crushed graham crackers with melted butter to achieve a sweet and crunchy base. I’ll guide you through this essential step, ensuring your cheesecake recipe begins on the right note.
Pre-baking ensures that when the cheesecake is fully assembled and baked—without diving into water bath techniques just yet—the result is a delicately balanced dessert, where every layer plays its part to perfection.
Cheesecake Water Bath
First, let’s talk about why a water bath is crucial for our cheesecake recipe. The gentle heat from the water bath ensures even heat distribution, preventing those dreaded cracks and contributing to a smooth texture that makes for a creamier cheesecake.
With everything in place, I’m confident that our cheesecake will bake evenly, without cracks, and with a texture so smooth and creamy, it’ll be the highlight of any dessert table.
Cooling & Chilling Cheesecake
Once your cheesecake emerges golden and glorious from its water bath, it’s crucial to let it cool gently within the oven’s embrace to ensure it sets impeccably without a single crack marring its surface. This step, often overlooked, is what transforms a good cheesecake into the best cheesecake recipe you’ve ever made.
After turning off the preheated oven, I crack the door slightly, letting the cheesecake bask in the fading warmth. The slow transition from the oven’s cozy 350 degrees F to room temperature is key. It’s a delicate dance ensuring the center is almost set but not overdone.
Next, I move the cheesecake, still in its springform, to a wire rack. Here, patience is my companion as the cheesecake continues to cool. Once it reaches room temperature, I cover it and slide it into the refrigerator. A good chill, lasting several hours, is what sets my cheesecake apart, making sure it’s perfectly set and flavors meld beautifully.
Before I serve the cheesecake, I take a moment to appreciate the process — from mixing bowl to cooling rack, each step has been a careful curation of temperature and time, all to make sure when I slice into it, it’s nothing short of perfection.
5 Success Tips for Perfect Cheesecake
After ensuring the cheesecake has cooled and set to perfection, let’s explore some key tips that will elevate this classic dessert to new heights.
Following these guidelines, the recipe makes a cheesecake that’s not only a delight to look at but an absolute pleasure to indulge in.
Cheesecake Toppings
Elevate your cheesecake from delightful to divine by choosing the perfect topping, where fresh berries, decadent chocolate ganache, or a dollop of whipped cream can transform this classic dessert into a personalized masterpiece. I’ve discovered that the right cheesecake toppings not only add a burst of flavor but also introduce a delightful contrast in texture and an aesthetic appeal that’s hard to resist.
Imagine the vibrant colors of fresh berries against the creamy backdrop of the cheesecake, or the glossy sheen of chocolate ganache as it cascades down the sides.
I often drizzle caramel sauce for a touch of indulgence or spoon fruit preserves for a tangy twist. Toasted coconut and chopped nuts offer a crunchy texture that contrasts beautifully with the smoothness of the cheesecake, while lemon curd injects a burst of citrus that’s refreshingly light. For a whimsical finish, I sometimes sprinkle a dash of colorful sprinkles.
Experimenting with combinations like caramel sauce and sea salt, or chocolate ganache and fresh raspberries, allows me to tailor the dessert to my guests’ preferences, making each cheesecake an unforgettable experience. It’s in these creative choices that I find the joy of baking, turning each cheesecake into a canvas for my culinary creativity.
How to Freeze Cheesecake
To ensure your cheesecake retains its delightful texture and flavor for future enjoyment, I’ve mastered the art of freezing it with a method that’s both simple and effective. After letting my cheesecake cool completely, I tightly wrap it in plastic wrap, making sure every inch is covered to ward off any dreaded freezer burn. This step is crucial; it’s like tucking your cheesecake into a cozy blanket, protecting it from the harsh cold of the freezer.
Next, I slide my securely wrapped cheesecake into a resealable plastic bag, squeezing out as much air as possible before sealing. This extra layer of protection is my secret to keeping it tasting as fresh as the day it was made. I always make sure to label the bag with the date, ensuring I know exactly how long it’s been hibernating in the icy depths of my freezer.
Cheesecakes can luxuriate in this frosty environment for up to 3 months without losing a hint of their quality. When I’m ready to indulge, I simply thaw my cheesecake in the refrigerator overnight. This slow thawing process is essential for preserving the cheesecake’s creamy texture and rich flavor, making it a decadent treat that’s always worth the wait.
Frequently Asked Questions
What Is the Difference Between New York Style Cheesecake and Regular Cheesecake?
I’ve always wondered about the difference, and it turns out New York style cheesecake is denser and creamier, with more cream cheese and sour cream, giving it a tangier taste than regular, fluffier cheesecakes.
What Are the Three Types of Cheesecake?
I’ve discovered there are three main types of cheesecake: New York-style, which is dense and rich; Chicago-style, known for its creamy texture without a crust; and Philadelphia-style, which is lighter and creamier than New York-style.
Which Is the Best Cheesecake?
Determining the best cheesecake is a deeply personal choice. I believe it’s all about balance—creamy yet firm, sweet but not overwhelming. For me, a classic New York-style cheesecake takes the crown every time.
Is Baked or No Bake Cheesecake Better?
I prefer baked cheesecake for its rich flavor and dense texture. It takes more time, but the creamy consistency and traditional taste are unmatched. No-bake is quicker, yet can’t rival baked’s classic delight.
Conclusion
In sum, this cheesecake recipe redefined my baking adventures, blending simplicity with indulgent flavors. Mastering the graham cracker crust laid the foundation for a creamy, dreamy filling, achieving that lump-free consistency was key. Baked at a precise 350°F, it emerged as a flawless dessert, ready to be adorned with my choice of toppings. The option of a sugar alternative was a delightful bonus, making it a versatile treat. Truly, this recipe is a treasure in my collection, promising perfect results every time.
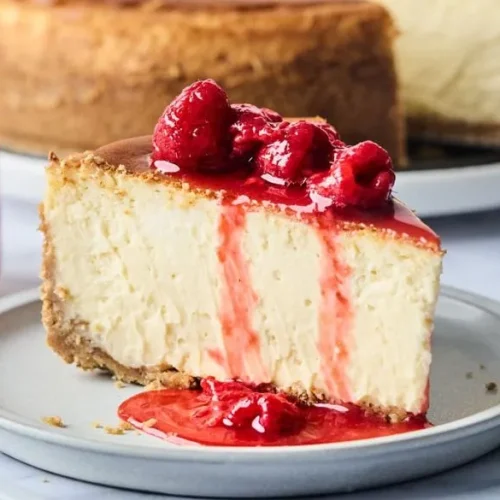
Cheesecake Recipe (New York Style)
Equipment
- 9-inch springform pan
- Parchment paper
- Mixing bowls (electric mixer recommended)
- Rubber spatula
- Whisk
Ingredients
- For the Crust:
- 1 ½ cups graham cracker crumbs
- ¼ cup packed light brown sugar
- ¼ teaspoon salt
- 6 tablespoons unsalted butter melted
- For the Filling:
- 32 ounces full-fat cream cheese softened to room temperature
- 1 ½ cups granulated sugar
- 3 tablespoons cornstarch
- 1 teaspoon pure vanilla extract
- 4 large eggs
- ½ cup sour cream full-fat
Instructions
- Make the Crust: Preheat oven to 350°F (175°C). In a medium bowl, combine graham cracker crumbs, brown sugar, and salt. Pour in melted butter and mix until well combined. Press the mixture firmly into the bottom and about 1 inch up the sides of your prepared springform pan. Bake for 10 minutes, then remove from the oven and let cool completely. Reduce oven temperature to 325°F (165°C).
- Make the Filling: In a large bowl, beat the softened cream cheese and sugar together until smooth and creamy. Beat in the cornstarch and vanilla extract until just combined. Add the eggs one at a time, beating well after each addition. Stir in the sour cream until just incorporated.
- Assemble and Bake: Pour the cheesecake filling over the cooled crust. Wrap the outside of the springform pan tightly with a double layer of heavy-duty aluminum foil. Place the cheesecake in a large roasting pan. Fill the roasting pan with enough hot water to reach about halfway up the sides of the springform pan.
- Bake for 1 hour and 10 minutes, or until the center is almost set but still slightly jiggly. Turn off the oven and crack the door open slightly. Let the cheesecake cool completely in the oven for at least 1 hour. Then, remove from the oven and refrigerate for at least 8 hours, or overnight, before serving.
Video
Notes
Make sure all your ingredients are at room temperature before starting. This will ensure a smooth and creamy batter.
The water bath helps prevent the cheesecake from cracking.
Don’t overbake the cheesecake. It should be slightly jiggly in the center when done.
Let the cheesecake cool completely in the oven before refrigerating. This will help prevent it from sinking in the center.
